Self Reliance Challenge Second Project
I get commissions for purchases made through links in this post. View our Affiliate Disclaimer.
The self-reliance challenge has been exactly that! A challenge! This past week we have had a number of delays in our projects! We have had unseasonal rain, which we are grateful for, but effectively halts any outside work! Mothers Day we enjoyed spending time with the kids as they spoiled their Mom (my wife), and that took a whole day out of our self-reliant project plans! But family is important, and we cherish every moment we get to spend with our children, these moments are precious!
My wife and I still work full time jobs while homesteading which comes with its own set of challenges, but that is a subject for another post!
We did, however, still manage to get a few things done to take us further on our journey towards self-reliance!
Self-Reliant Progress – Starting Fruit Trees
We went to visit my sister who has a number of fruit trees in her garden, so I asked her If I could take some cuttings while we were there. I have wanted to start growing some fruit trees for a while now, but it is one of those projects that always get shelved due to more pressing issues demanding attention! Since we were going to my sister’s place anyway, I thought of the self reliance challenge and decided there is no time like the present to get started with fruit trees!
I planned ahead and mixed up a batch of organic rooting hormone the day before our visit. I then diluted some of the mixture and took it with, along with a few small plastic bags and some masking tape.
At my sister’s house, we took some cuttings of two different types of lemon trees, some apricot tree cuttings and some granadilla (passion fruit) cuttings. We also took a cutting of a Jasmin plant, but this one was more for aesthetic purposes and my bees will love it’s flowers!
After we took the cuttings, we placed them in the little plastic bags with the diluted mixture or rooting hormone in the bottom. We then taped up the bag with some masking tape for the journey home.
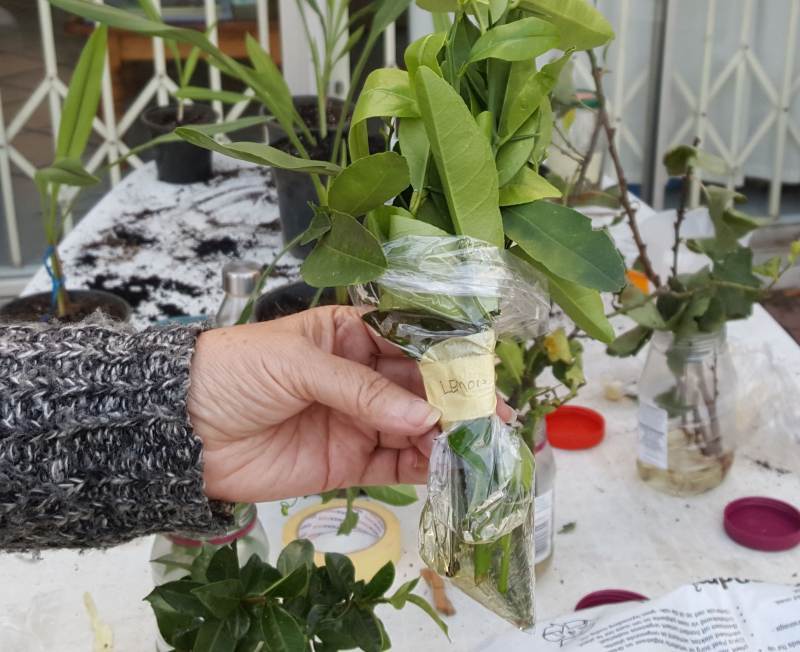
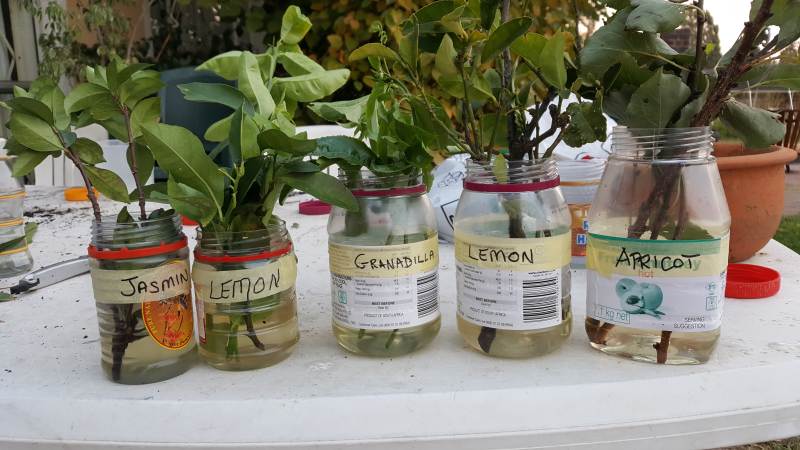
Once home, we put the cuttings in jars with some more rooting hormone where they will stay for a couple of days before being planted out into some pots. Once they have been planted out into the pots I will continue to water them with some rooting hormone mixture for a few days.
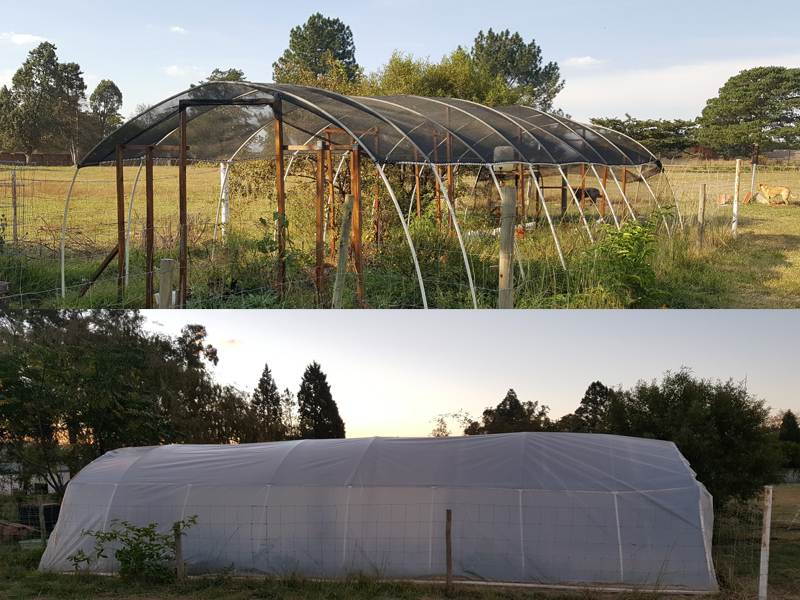
This week we also managed to get the plastic cover on our greenhouse in preparation for the frost and to start our winter crops.
Water Wise Drip Irrigation Project
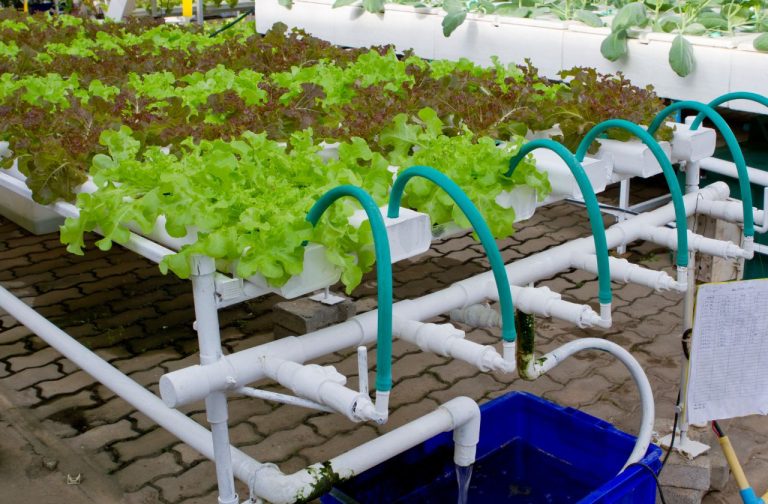
The project that I had set for myself for last week was a gravity fed drip irrigation system. My reason for this is that we live in a region where rainfall is unpredictable and water is a scarce commodity. Thus, being self-reliant for our water supply is high on the agenda towards self sufficiency! Working wisely with water makes sure we are getting the maximum amount of benefit from the least amount of water. This gravity fed system is a very simple method that I find works pretty well for short distance pipes.
Equipment
You will need the following equipment for this project:
- 1 x 25 litre (about 6.6 Gallons US) plastic drum with a tap fitted
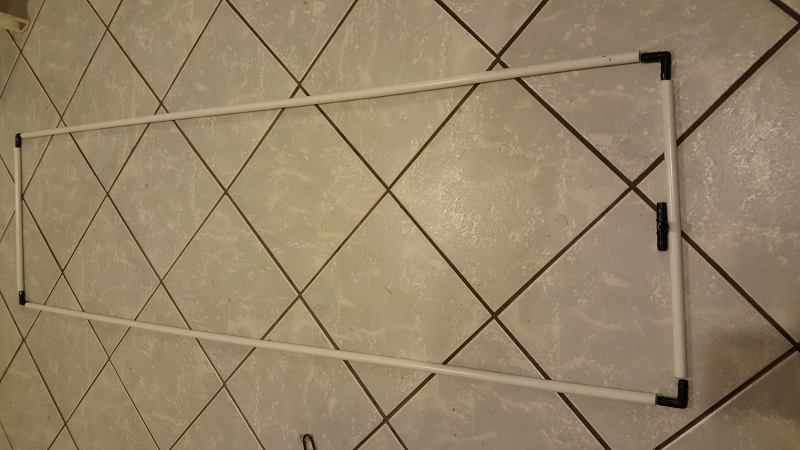
- 2 x 2m lengths (about 6.5 feet) of 20mm (0.8 inch) pvc conduit
- 2 x 0.5m lengths as cross pieces
- 4 x 15mm (0.6 inch), 90 degree elbow joints
- 1 x 15mm T-piece joint
- A length of garden hose about 1.5m (about 5 feet)
- 1 x thin drill bit – I used a 1mm bit
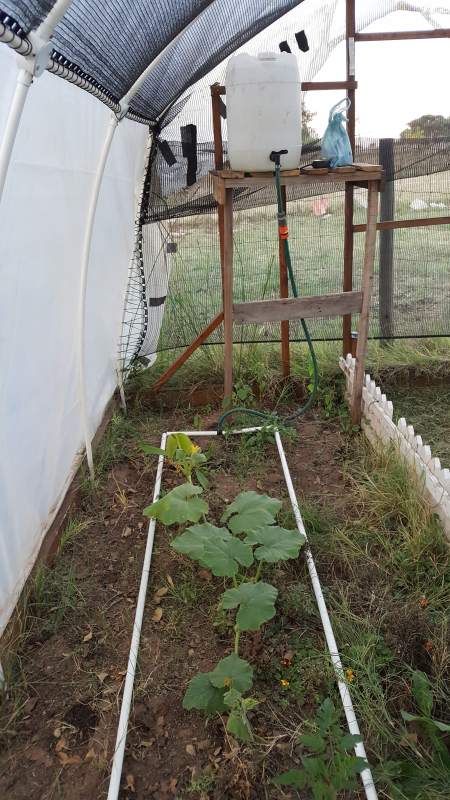
You will need to build a stand for the water drum to elevate it to about 1.5m off the ground. I built a rough frame in my greenhouse for this purpose with various bits of scrap timber that were available.
I have found that the 2m length of pipe is ideal for the height of the barrel. If you want to have a longer run than the 2m, you would have to increase the elevation of the barrel.
Putting It All Together
I did not glue the connections together because the flow of the water does not have enough pressure to force its way out of the joins. This also gives me the flexibility to adjust the layout of the system to the bed where I will be using it
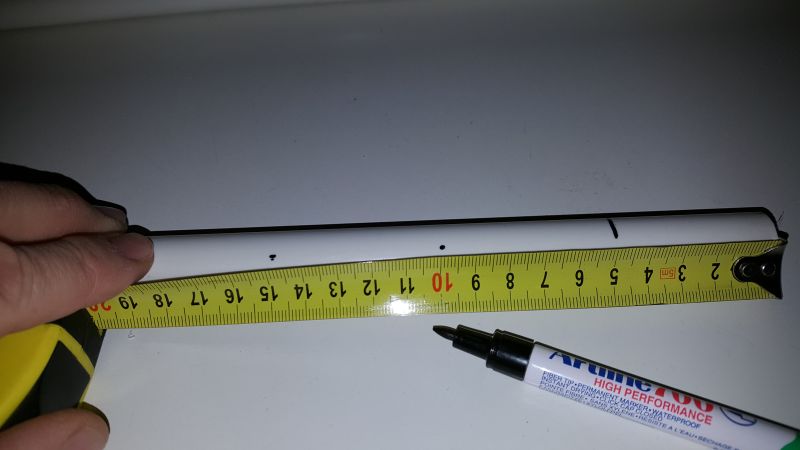
I drilled 1mm holes along the length of the pipe at 5cm intervals. The challenge with this step is to keep the holes in a straight line. A tip to achieving this is to clamp the pipe in a piece of angle iron to stop it rotating. I used a small rotary tool (such as a Dremmel) to do the drilling as it gave me better fine control than a conventional power drill.
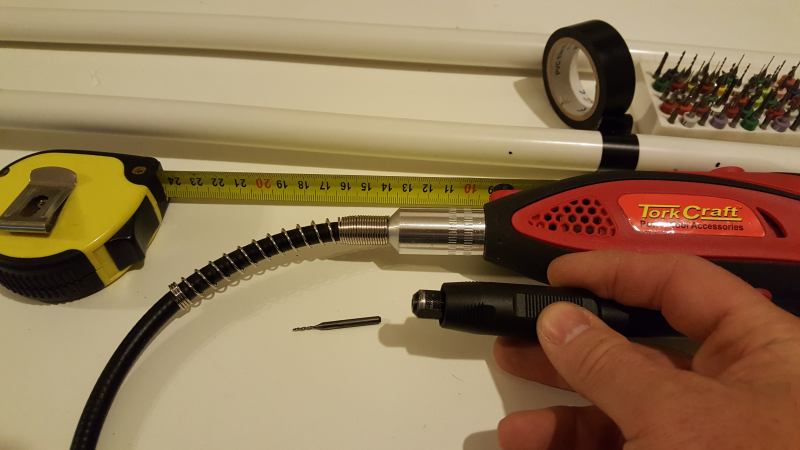
I found that the 5cm frequency of holes gave me a good spread of holes for most applications. If I need a larger gap between holes, I tape up the holes I don’t need with electrical tape. Once again, the low pressure of the gravity fed system does not force the water past the tape.
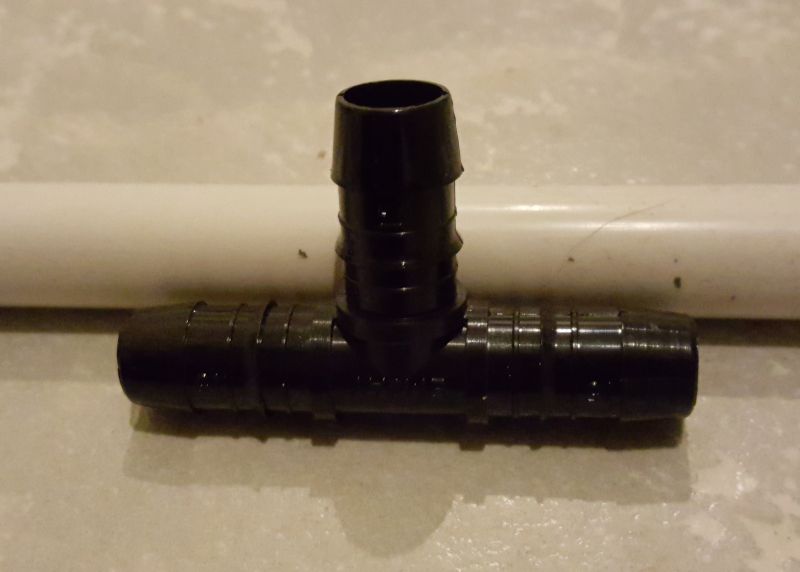
For the connection of the hose, cut one of the 0.5m cross pieces in half and then trim the ends to compensate for the fitting of the T-piece connector. Once fitted, connect one end of the hose to the T-piece and the other end to the tap on the barrel. You may have to use hose clamps to keep the hose in place.
How To Control Flow
I have found that the best way to control the flow of the water through the system is to leave the tap wide open and then adjust the cap of the barrel to increase or reduce airflow into the barrel. This effectively increases or reduces the flow of the water.
To refill the irrigation barrel, I use a small electric pump to pump water from rain water collection barrels into the gravity feed barrel.
Continuing The Self Reliance Challenge
We are half way through the self reliance challenge for the month of May, and I am eager to start the next project! Take a look at the links below or on the panel to the right of this post to see what other participants in this challenge are doing to become more self-reliant!
Challenge yourself and do something this coming week to improve your self reliance. You don’t have to be self-reliant in everything at once, but start somewhere and become self-reliant in something new this week!
If you would like to read about what we achieved the previous week, you can read about it here!
My fellow participants are:
- Lisa Lynn – the challenge organiser from the USA – The Self Sufficient Home Acre
- AnnMarie – from the USA – 15 Acre Homestead
- Nancy – from the USA – Nancy On The Homefront
- Kathi – from the USA – Oak Hill Homestead
- Robin – from the USA – A Life in the Wild
- Candy – from the USA – Candy’s Farm House Pantry
- Farmgal – from Canada – Just another Day on the Farm
- Ashley – from the USA – Practical Self Reliance
- ShawnaLee – from the USA – Homegrown Self Reliance
- Maria – from the USA – Maria Zannini
- Last but not least, yours truly, Frank – from South Africa – My Green Terra
[content-egg module=Amazon template=custom/grid4]
Get more posts like this
Subscribe to our mailing list and get interesting homesteading and green living info and updates to your email inbox.
Thank you for subscribing.
Something went wrong.






The drip irrigation project is a great idea! Best wishes with the fruit tree cuttings. 🙂
What a interesting post and I really like your drip water set up.. thanks so much for sharing this..
I’ve never tried starting trees from cuttings. I’ll be interested to know if it takes. Keep us posted!
One of my friends has offered me a passion fruit cutting. I was in a bind so I couldn’t take it, but next time I visit, I might take her up on it. Thanks for the tip.
Great info on the trees. I am potting up some small trees I purchased. Starting them from cuttings hasn’t worked well for me. Maybe I’ll give it another try.
Thank you for the directions for your drip-watering system. I can see now that the problems I’ve had in my efforts is that my water source isn’t high enough for the pressure I want. Thank you for sharing!