How To Build A Worm Farm In 5 Easy Steps
I get commissions for purchases made through links in this post. View our Affiliate Disclaimer.
Worm Farm!! ?But why!? I Hear you say! If you are of the same mindset as me and many other people out there, who want to grow your own produce and be a little less dependent on “The Man” and society’s infrastructure, then you are going to want to produce your own fertilizer, compost and growth booster for your garden!
It is a fun, easy project for those of us who like DIY projects. You can even get the kids involved, just not with the power tools or sharp items! If you are into recycling, as you should be, then this is also a great way to re-purpose some throw away items and your organic kitchen waste.
The items you will need to build your worm farm
You will need the following items for this project:
- 3 x stackable plastic containers, with a lid for the top container
- 1 plastic tap
- 1 x 3mm (1/8 inch) drill bit
- 1 x 6mm (1/4 inch) drill bit
- wood drill bit (spade type) to match the diameter of the tap
- drilling machine
- 4 x empty 2 liter soda bottles
- 1 x knife
- 1 x bag of compost
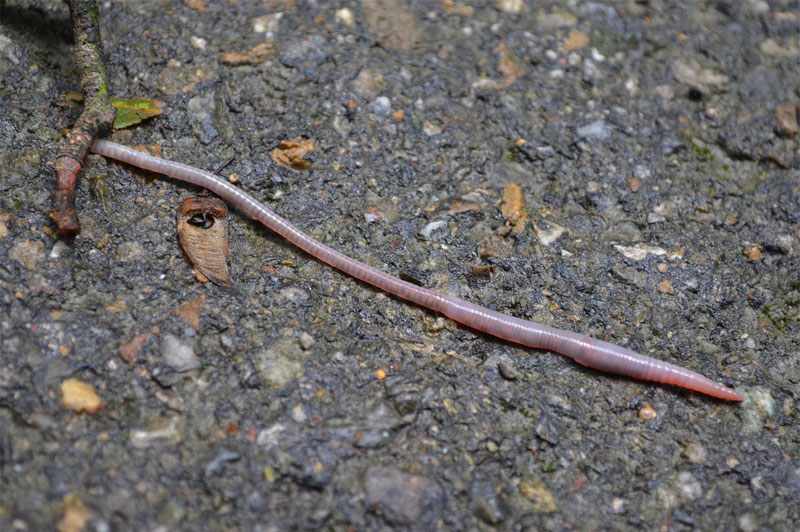
- Some earthworms – red wrigglers are a good choice
- A few sheets of newspaper
Step 1 Prepare The Supports
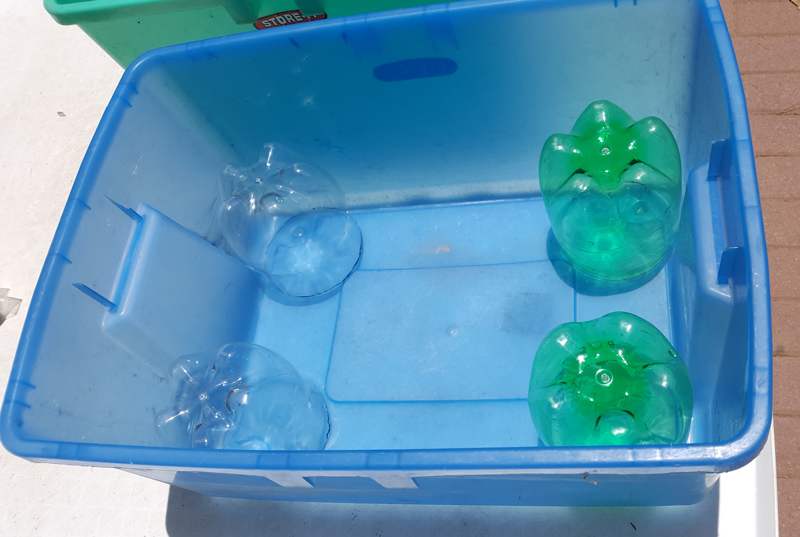
Cut off the base of the soda bottles at a height that will keep the middle container raised. This will prevent the fluid level getting too high and drowning the worms. The fluid that drains through the system and end up in the bottom container is called leachate.
Step 2 Prepare The Lower Container
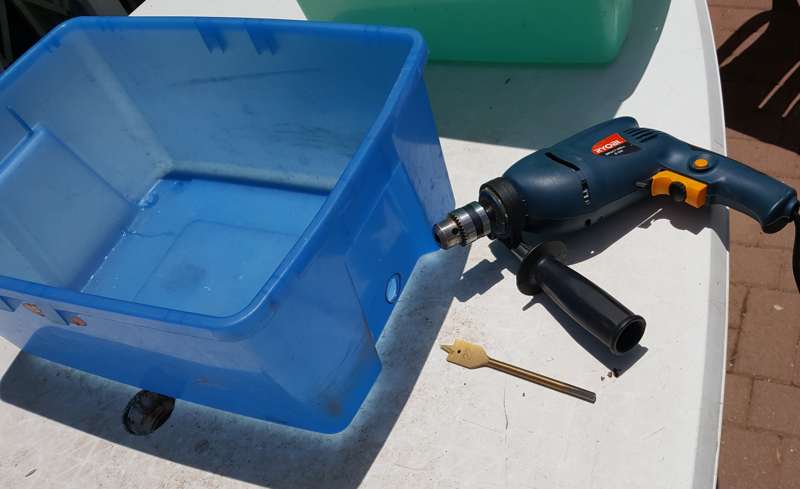
Use the wood drill bit to make a hole in the bottom container for the tap. The hole should be as close to the bottom edge of the container as possible, leaving enough room to fasten the nut on the inside of the container to secure the tap. Placing the tap close to the bottom helps to drain the container more easily.

Step 3 Prepare Middle Housing Container And Add Worms
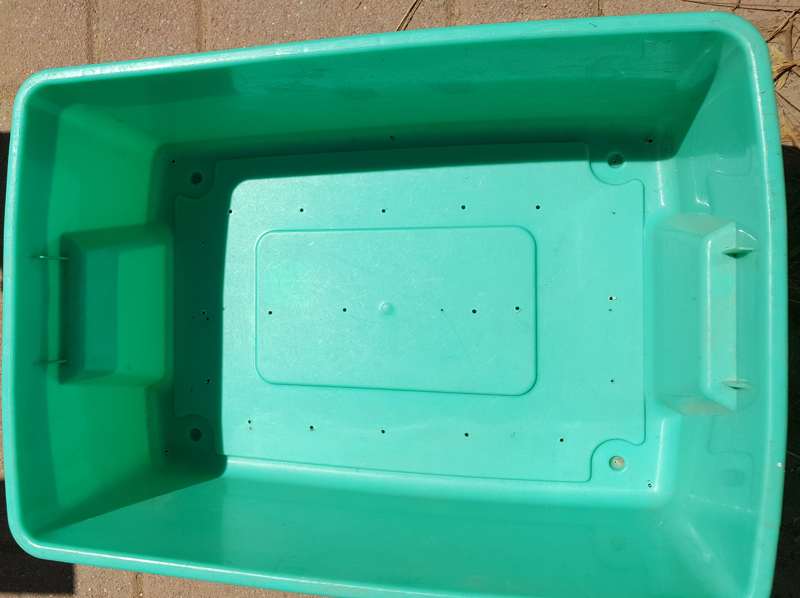
Use the 3mm (1/8 inch) drill bit to drill some random drainage holes in the bottom of the middle container. Pay particular attention to areas like the corners, where liquid may pool.
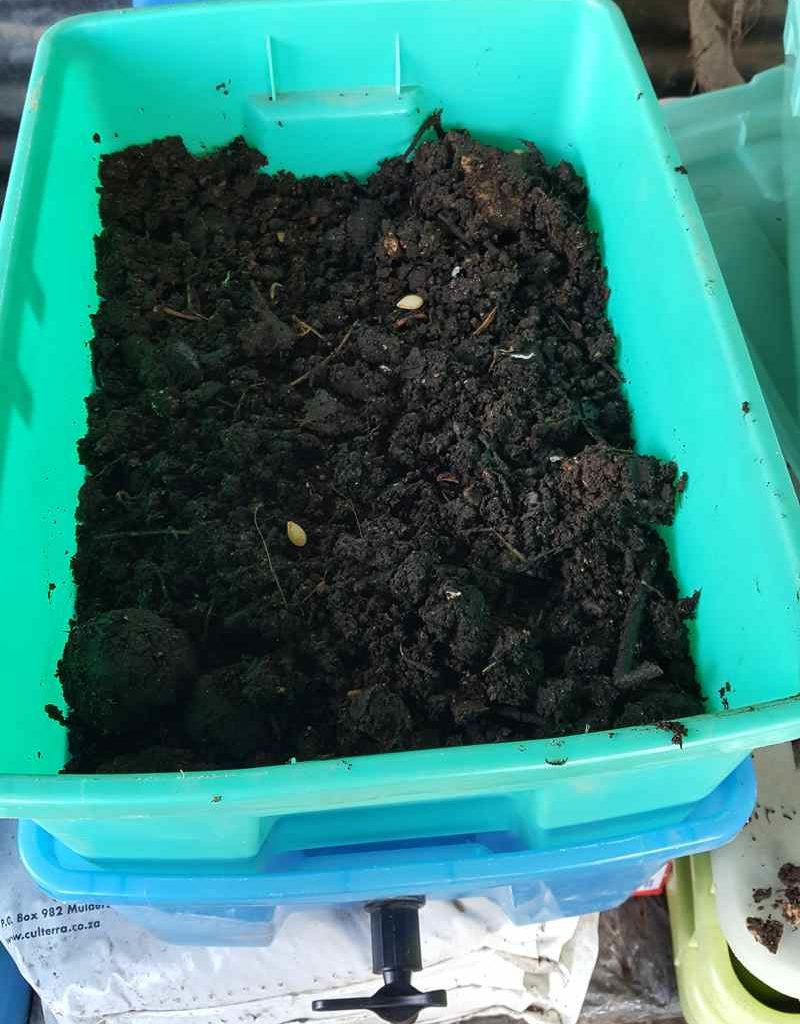
Fill this container to about halfway with compost as a bed for the worms. Add the worms to this substrate. They should burrow into the compost as they do not like bright light too much.
Step 4 Prepare Top Feeding Container
Use the 6mm (1/4 inch) drill bit to drill a good few holes in the bottom of the container that fits on the top of your worm farm. This top container will be the feeding chamber. The worms will use these holes to move from the middle layer where they live to the feeding chamber above. This top container is where you will place your organic kitchen waste.
Using the 3mm (1/8 inch) drill bit, make a few random holes on the lid and the top edge of the feeding chamber as air holes. Don’t make too many holes and don’t make them too big, as this may encourage pests to infiltrate your worm farm.


Step 5 Feed The Worms
The final step is to give your worms some food. Place some kitchen organic waste inside the top container. Cover the kitchen scraps with a few sheets of newspaper. You can also feed your worms used coffee grounds which help them break down and digest their food! Moisten the newspaper with water, rain water would be best, and cover with the lid.
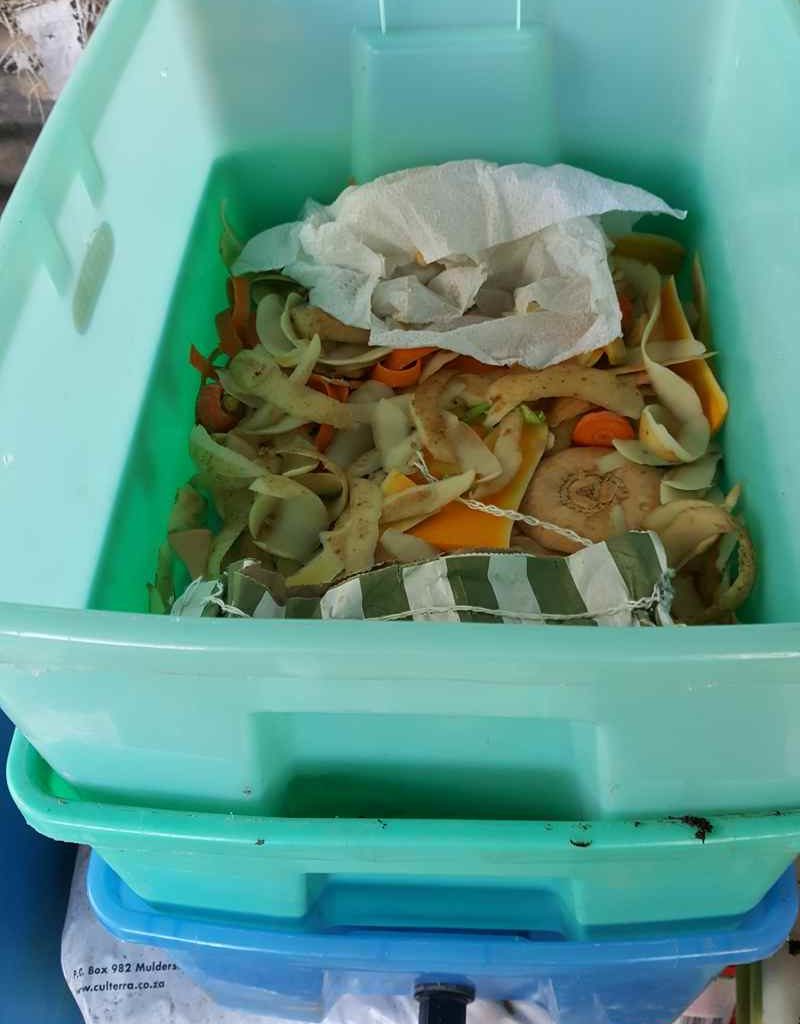

Job done! You are now a worm farmer!
A Few Final Tips
Here are a few tips to keep your worms healthy and happy.
- Place your worm farm in a shady spot
- Monitor your feed container and make sure your worms have a constant supply of food. Normally feeding every second day or so should be fine.
- Do not give too much food so that the food rots before the worms can process it.
- Suitable food is any organic kitchen waste, including egg shells, vegetable peelings, non-glossy cardboard and paper. Make sure the paper does not have a high density of print – worms don’t like to read! Just joking! Too much ink on the page may not be healthy for your worms.
- Some food items that are not suitable for your worms are as follows:
- Meat products
- Dairy products
- Acidic plants such as onion, pineapple, and citrus fruits
Get more posts like this
Subscribe to our mailing list and get interesting homesteading and green living info and updates to your email inbox.
Thank you for subscribing.
Something went wrong.

