How to Store and Label Your Saved Seeds for Maximum Viability
I get commissions for purchases made through links in this post. View our Affiliate Disclaimer.
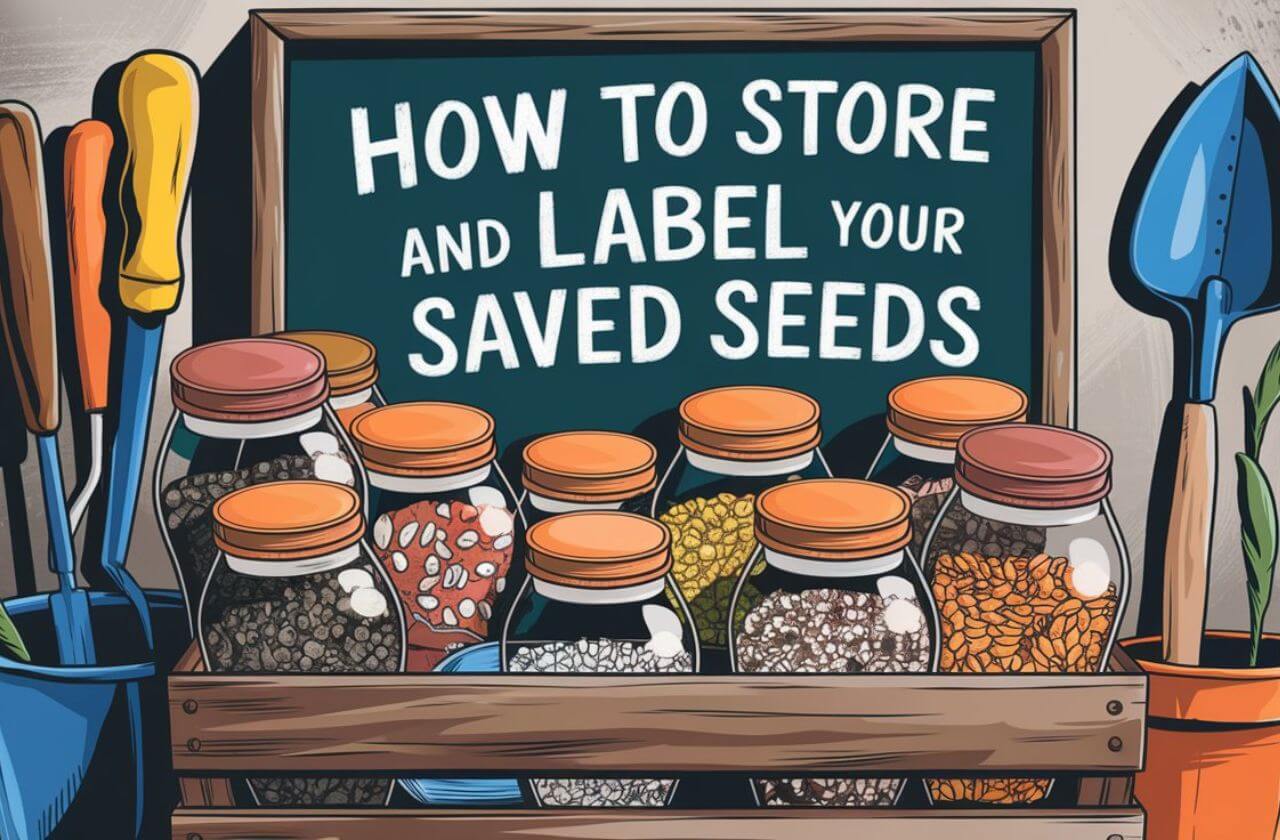
When you’ve carefully harvested and dried your seeds, it’s important to store them properly to maintain their viability. You’ve invested time and effort into saving those seeds, and now it’s vital to store and label your saved seeds correctly to preserve them for future use. But are you storing them in a way that guarantees they’ll remain healthy and viable? You might be unintentionally reducing their quality or even killing them.
To avoid this, you need to know the secrets to storing and labeling your seeds correctly. By learning the right techniques, you’ll be able to preserve your seeds for years to come – but first, you need to understand the basics of ideal storage conditions.
Key Takeaways
- Store seeds in airtight containers with desiccant packets to maintain humidity levels and prevent moisture buildup.
- Label seeds accurately with variety, date saved, and growing notes using waterproof markers for long-term identification.
- Freeze completely dry seeds in airtight containers to extend shelf life, and allow them to reach room temperature before planting.
- Keep seeds in a cool, dark place with consistent storage conditions, avoiding direct sunlight and extreme temperatures.
- Conduct regular germination tests and monitor storage conditions to ensure seed viability and quality over time.
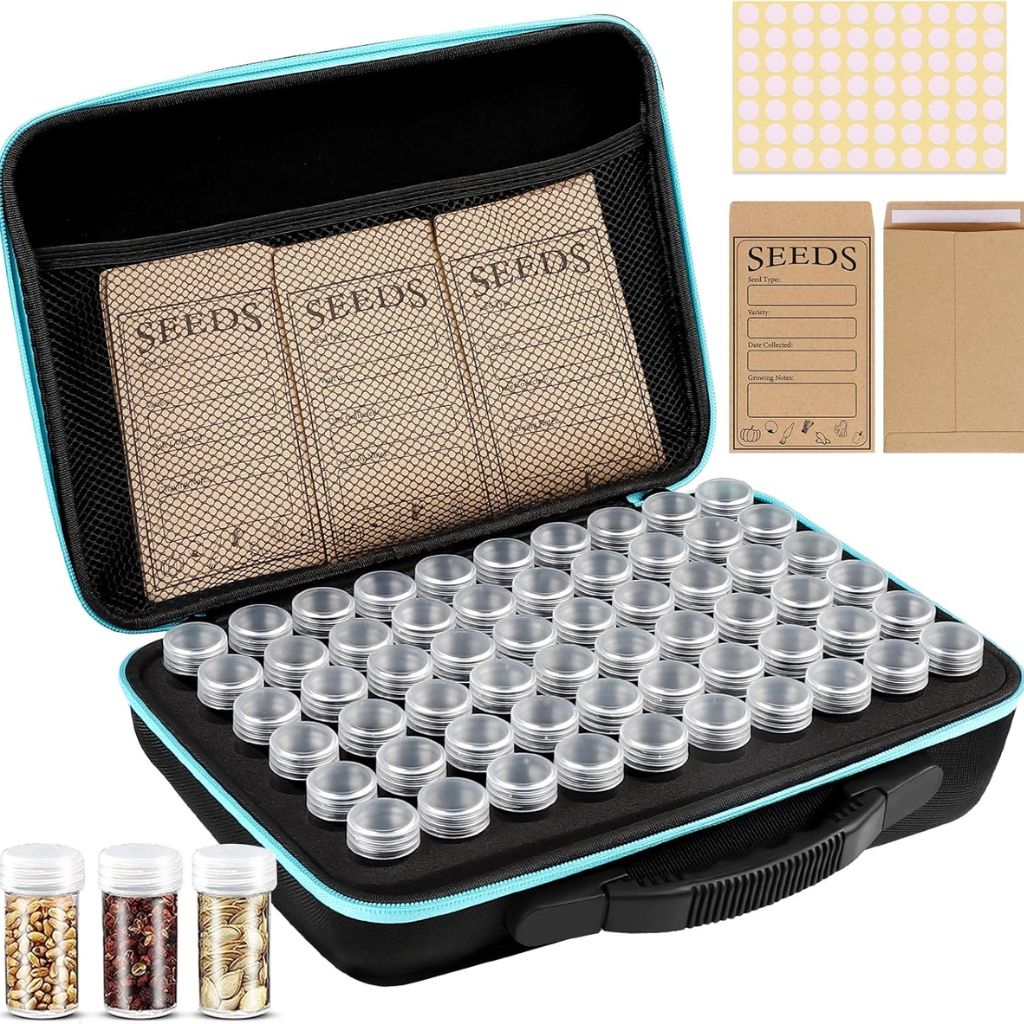
Jixsloft Seed Storage
60 Slots Seed Storage Organizer with 20 Seed Envelopes, Sturdy Seed Organizer Storage Box with Zipper Bag, Label Stickers

Xbopetda Seed Saving Box
Metal Seed Bin, Seed Storage Organizer Box, Seed Packet Container with Lid, Seed Envelope Storage Box, 4 Compartments
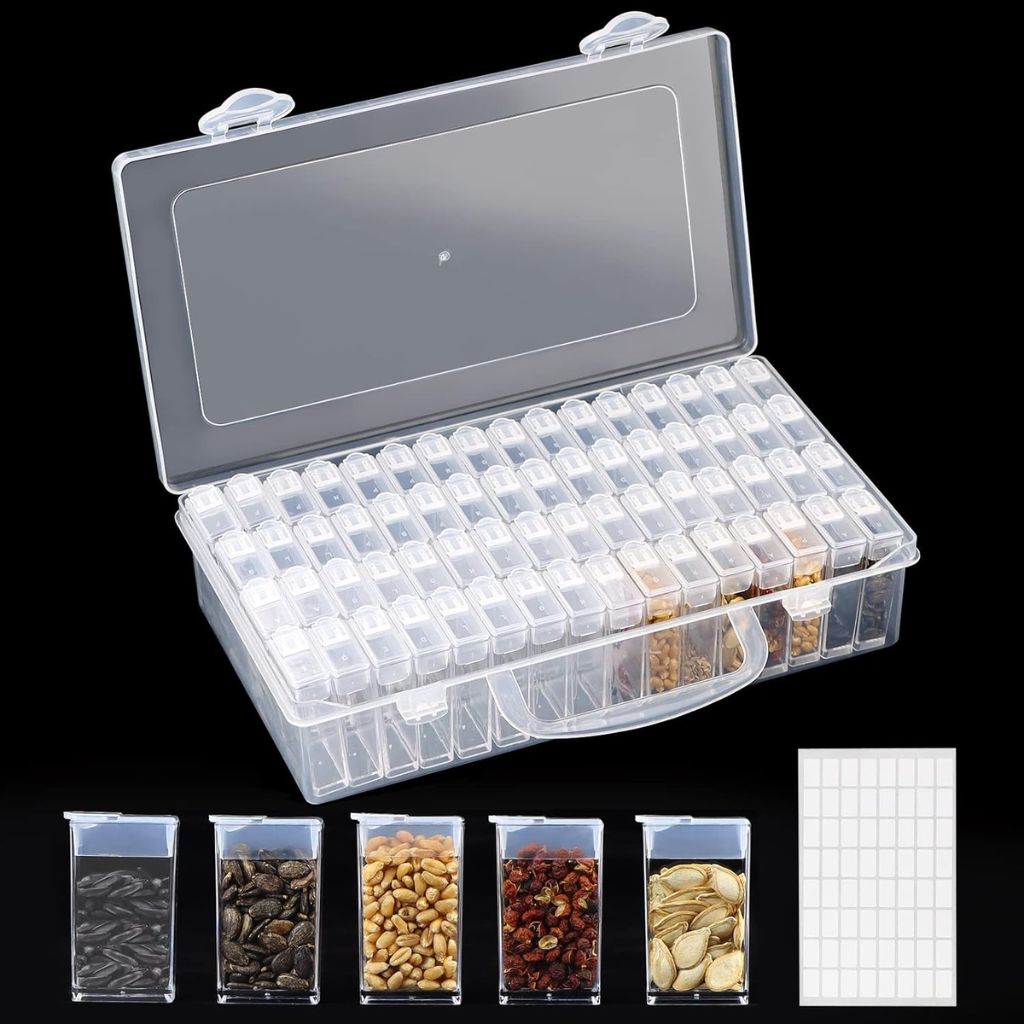
64 Slots Plastic Seed Storage Box
Organizer with Label Stickers(seeds not included), Seed Container Storage use for Flower Seeds,Vegetable Seeds
Preparing Seeds for Storage
To ensure the longevity of your seeds, start by thoroughly drying them to a moisture level of around 5-7%, which is essential for preventing moisture-related issues during storage. This step is vital, as high moisture content can reduce seed viability over time.
Completely dry seeds are less susceptible to damage and maintain their quality, ensuring a higher germination rate when you’re ready to plant. Proper drying techniques are necessary for excellent seed storage conditions.
When seeds aren’t completely dry, they’re more prone to mold, mildew, and rot, which can render them useless. By drying your seeds properly, you’re taking the first step towards successful seed storage.
This simple yet essential step sets the stage for the conditions for storing your seeds, ultimately affecting their quality and viability. Take the time to dry your seeds correctly, and you’ll be rewarded with healthy, thriving plants when the time comes to plant them.

Ideal Storage Conditions
By storing your seeds in airtight containers, you’ll maintain ideal humidity levels and prevent moisture from compromising their quality. This is important in preserving the viability of your seeds.
To further guarantee excellent storage conditions, find a cool, dark place to store your seeds. Avoid areas with direct sunlight, as it can cause seeds to degrade quickly. A cool, dark place will slow down the aging process, allowing your seeds to remain viable for a longer period.
Proper ventilation in the storage area is also vital. You want to prevent moisture buildup, which can lead to mold or mildew growth on your seeds. By storing your seeds in a well-ventilated area, you’ll reduce the risk of moisture accumulation.
Additionally, consider using desiccant packets to absorb excess moisture and preserve seed quality. By following these guidelines, you’ll create an ideal environment for your seeds to thrive.
Choosing the Right Containers
As you prepare to store your saved seeds, choosing the right containers is essential. You’ll want to select containers that aren’t only airtight but also made of moisture-resistant materials to prevent seed damage.
Glass Vs. Plastic Containers
Choose the right container for storing your saved seeds, and you’ll be guaranteeing their viability and protection from external elements. When it comes to deciding between glass and plastic containers, there are some key differences to take into account.
| Container Type | Seed Viability | Moisture Protection |
|---|---|---|
| Glass | High | Excellent |
| Glass | Long-term | Reusable & Eco-friendly |
| Plastic | Medium | Fair |
| Plastic | Short-term | Lightweight & Break-resistant |
Glass containers are the preferred choice for long-term seed storage due to their airtight and non-reactive properties, preserving seed viability. On the other hand, plastic containers are suitable for short-term storage but may not provide the same level of protection against moisture and pests. If you’re planning to store seeds for multiple seasons, opt for glass containers to ensure maximum viability and protection from external elements. By selecting the right container, you’ll be one step closer to maintaining healthy, thriving seeds for your next harvest.
Airtight Seal Importance
When storing saved seeds, you typically require airtight containers to prevent moisture and air exposure that can greatly diminish seed viability. You want to guarantee your seeds remain fresh and viable for future plantings. Airtight containers are vital for maintaining seed quality, and choosing the right one is essential.
Glass containers, metal containers, and plastic containers with secure closures can provide adequate airtight storage for your seeds. Mason jars, in particular, are popular choices due to their airtight seal and durability.
When selecting a container, look for ones with tight-sealing lids that can prevent air and moisture from entering. Air tight containers will shield your seeds from environmental factors that can reduce germination rates.
Moisture-Resistant Materials
You’ll want to select containers made from moisture-resistant materials, such as glass jars, metal tins, or airtight plastic bins, to safeguard your seeds from damage. These seed saving containers will help guarantee that moisture doesn’t seep in and ruin your seeds, ensuring maximum viability.
When choosing the right containers, consider the following:
- Opt for containers with tight-fitting lids to keep out moisture and humidity.
- Consider using silica gel packets inside containers to absorb excess moisture and maintain seed quality.
- Avoid using cardboard or paper containers that can absorb moisture and lead to mold growth.
- Store your seeds in a cool, dark place to further protect them from moisture and ensure maximum viability.
The Seed Saving Bible
The Complete Expert’s Guide To Harvest, Store, Germinate, Keep Your Vegetable And Herb Seeds Fresh For Years

The Seed Garden
The Art and Practice of Seed Saving
Saving Seeds
The Gardener’s Guide to Growing and Storing Vegetable and Flower Seeds (A Down-to-Earth Gardening Book)
Labeling and Tracking Seeds
By carefully labeling and tracking your saved seeds, you can easily identify and locate specific varieties, guaranteeing that you get the most out of your seed collection. This is an important step in seed saving, as it allows you to organize seeds, keep track of your seed storage, and make the most of your harvest.
When labeling your seeds, be sure to include the plant variety, date saved, and any specific growing notes. Use waterproof and fade-resistant markers or labels to ensure long-term seed identification.
To take your seed organization to the next level, create a seed inventory list or spreadsheet to track seed types, quantities, and storage locations. This will enable you to organize seeds by planting season or category, making it easy to locate specific seeds when needed.
Regularly update and review your seed storage system to ensure accurate labeling and seed viability. By following these simple steps, you’ll be able to manage your seed collection with ease, freeing you up to focus on growing and enjoying your harvest.
Storing Seeds in the Freezer
Now that you’ve organized and labeled your seeds, it’s time to explore the best way to store them, starting with freezing, which can greatly extend their shelf life. Freezing is an effective method for long-term seed storage, especially for delicate seeds. To get started, make sure your seeds are completely dry before freezing to prevent damage from excess moisture.
Here are some essential tips to keep in mind when storing seeds in the freezer:
- Use airtight containers to prevent moisture from entering the container.
- Label your containers clearly, so you can easily identify the seeds when you need them.
- When you’re ready to plant, allow the frozen seeds to reach room temperature before opening the container.
- Regularly check the moisture levels in your freezer to ensure the seeds remain dry and viable.
Organizing Seed Collections
As you begin to organize your seed collection, you’ll want to develop a system that allows you to easily locate specific seeds and keep track of their viability.
You can use photo storage cases or dividers to categorize your seeds, and labeling each packet with the plant variety and date of collection is essential for maintaining an organized collection.
Seed Storage Systems
You can effectively organize your seed collection by utilizing a systematic approach to storage, which guarantees easy access and protection for your valuable seeds. This is important in maintaining seed quality and ensuring best germination rates. When storing seeds, it’s vital to take into account the environment and the type of containers used.
Here are some tips to help you create an efficient seed storage system:
- Utilize photo storage cases to organize seed packs by category for easy access and protection.
- Store seeds in a cool, dry, dark place like closets or basements to maintain viability.
- Consider using silica desiccant packs in seed storage containers to absorb excess moisture.
- Opt for airtight containers like glass jars or plastic boxes to preserve seed quality.
Seed Organization Methods
By categorizing your saved seeds into plant families, you’ll be able to facilitate crop rotation and make informed planting decisions, ultimately streamlining your gardening process. This approach allows you to group seeds based on botanical connections, making it easier to plan your garden layout and guarantee a diverse range of crops.
To take your seed organization to the next level, consider implementing a hybrid system. This involves using smaller bins for seeds that need to be planted soon, and a flexible area for miscellaneous seeds. This setup enables you to prioritize your planting schedule while keeping track of your entire seed collection.
Here’s an example of how you can organize your seeds by plant family:
| Plant Family | Example Crops | Planting Tips |
|---|---|---|
| Brassica | Broccoli, Kale, Cabbage | Plant in well-draining soil with full sun |
| Solanaceae | Tomatoes, Peppers, Eggplant | Rotate with non-nightshade crops to reduce disease risk |
| Leguminosae | Beans, Peas, Lentils | Plant with nitrogen-fixing bacteria for best growth |
| Cucurbitaceae | Cucumbers, Squash, Melons | Train vines on trellises for maximum space efficiency |
| Apiaceae | Carrots, Parsnips, Celery | Thin seedlings to 2-3 inches apart for healthy growth |
Maintaining Seed Viability
Proper storage is vital for maintaining seed viability, and it’s imperative to get it right from the start. You’ve taken the time to carefully collect and label your seeds, and now it’s important to store them in a way that preserves their viability.
Here are some key factors to keep in mind when storing your seeds:
- Maintain cool, dry conditions: Store your seeds in an area with consistent temperatures and humidity levels below 40% to prevent moisture damage.
- Label your seeds accurately: Include the seed variety and date to make sure you’re planting the right seeds at the right time.
- Test seed viability regularly: Check your seeds regularly to confirm they’re still viable for germination.
- Monitor temperature and humidity: Keep your storage area at a consistent temperature and humidity level to preserve seed viability over time.
Common Seed Storage Mistakes
As you work to preserve your saved seeds, it’s crucial to avoid common mistakes that can compromise their viability.
You might unintentionally store them in inadequate containers, expose them to insufficient coolness, or neglect to label them properly, leading to confusion and mix-ups during planting.
Inadequate Containers
When you store seeds in inadequate containers, you’re inadvertently exposing them to the very elements that can compromise their viability. This is a common mistake that can lead to reduced seed viability and even complete loss of germination ability.
Here are some risks associated with using inadequate containers:
- Moisture penetration: Improper containers can allow moisture to seep in, causing seeds to sprout prematurely or develop mold.
- Pest infestation: Inadequate containers can attract pests that can damage or destroy your seeds.
- Light exposure: Clear or translucent containers can expose seeds to light, which can reduce their viability.
- Seed damage: Unsuitable containers can cause physical damage to seeds, making them unusable.
Using quality seed storage containers is essential to protect your saved seeds and maintain their long-term viability. By selecting the right containers, you can safeguard your seeds remain healthy and viable for a longer period.
Insufficient Coolness
You risk reducing your seeds’ viability if you store them in areas above 40°F, which is why maintaining consistent coolness is essential for preserving saved seeds.
When you store seeds in warm or fluctuating environments, you compromise their quality and longevity. Cool, dark storage locations, on the other hand, help maintain seed quality and guarantee maximum viability.
Fluctuating temperatures can have a substantial impact on seed longevity, so it’s important to avoid areas with temperature fluctuations. Consistent coolness is key to preserving your stored seeds.
Poor Labeling
Proper labeling is essential to maintaining organization and avoiding mix-ups in the garden. Poor labeling of saved seeds can lead to confusion and misidentification during planting. When you neglect to label your seeds properly, you’re setting yourself up for potential disasters in the garden.
Here are some common mistakes to avoid:
- Inadequate labeling, which may result in planting the wrong seeds or forgetting important details
- Failing to include crucial information, such as variety names, dates, and special instructions
- Not keeping track of seed storage conditions, leading to reduced viability over time
- Not regularly updating your labeling system, causing confusion and disorganization
Tips for Long-Term Storage
To maximize the shelf life of your saved seeds, store them in airtight containers to maintain freshness and prevent moisture damage. This will help preserve seed viability and guarantee successful planting.
Consider adding desiccant packs to absorb excess moisture and further preserve your seeds. For long-term storage, keep your seeds in a cool, dark place with consistent temperatures. Avoid storing them in areas with direct sunlight or extreme temperatures, as this can impact seed quality.
Label each seed container with the seed variety and date saved for easy identification. This will help you keep track of which seeds you have and how long they’ve been stored.
By following these tips, you can store your seeds for an extended period while maintaining their viability. Remember to regularly check stored seeds for viability through germination tests to ensure successful planting.
Monitoring Seed Quality
As you’ve optimized your storage conditions, it’s now important to regularly inspect your seeds for signs of deterioration, such as mold, discoloration, or pest damage. Monitoring seed quality is vital to guarantee the viability of your stored seeds.
To maintain seed quality, you should:
- Conduct regular germination tests to determine the viability of your seeds
- Monitor temperature, humidity levels, and light exposure in the seed storage area
- Inspect seeds for signs of mold, discoloration, or pest damage
- Keep detailed records of seed storage conditions and germination rates to assess the effectiveness of your storage methods over time
Frequently Asked Questions
How Do You Store Seeds for Viability?
You store seeds for viability by controlling seed moisture, regulating climate, avoiding seed coatings that retain moisture, and using refrigeration methods that maintain cool, dry conditions to preserve seed quality and promote successful germination.
How to Label Stored Seeds?
You strengthen your seed collection by using labeling methods that guarantee seed identification, storing them in organized containers, and creating a filing system that allows you to easily access and track your seeds’ viability.
How Do You Store Seeds for Last Years?
You store last year’s seeds by maintaining seed freshness in airtight storage containers, controlling climate with cool, dry conditions, and practicing seed rotation to make certain the oldest seeds get used first, liberating you from seed waste.
How to Organize Saved Seeds?
You’re taking control of your seed collection! Categorize seeds by type, then choose airtight containers and store them in a cool, dark place. Rotate seeds regularly to make sure the oldest ones get used first.
Conclusion
You’ve successfully prepared your seeds for storage, chosen the right containers, and labeled them with care. By following these guidelines, you’ll be able to maintain seed viability and enjoy a successful harvest for years to come.
Remember to monitor seed quality, avoid common storage mistakes, and store your seeds in a cool, dark location with proper ventilation.
With proper care, your saved seeds will remain healthy and productive, ensuring a bountiful harvest for seasons to come.
Get more posts like this
Subscribe to our mailing list and get interesting homesteading and green living info and updates to your email inbox.
Thank you for subscribing.
Something went wrong.





One Comment