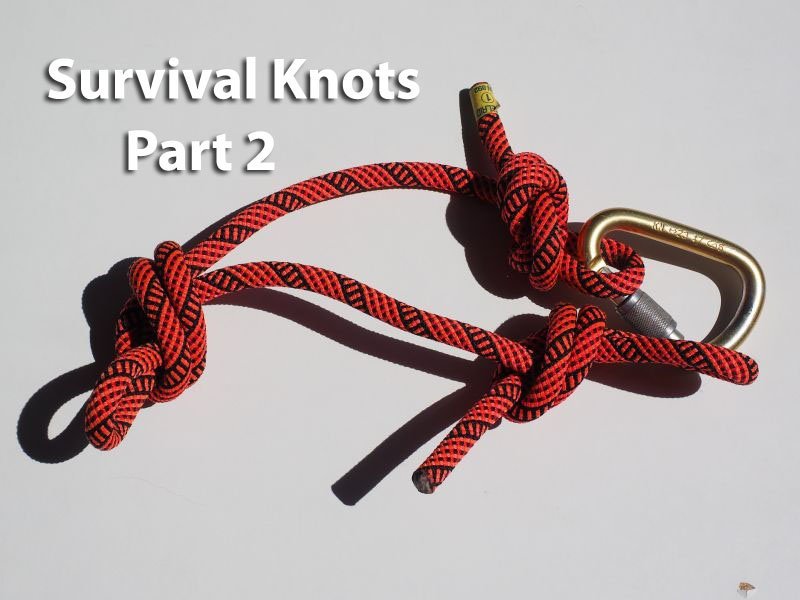
Survival Knot Series – Part 2 – Sheet Bend
I get commissions for purchases made through links in this post. View our Affiliate Disclaimer.
Welcome to part 2 of our Survival Knots series. In part 2, we cover the sheet bend knot and double sheet bend knot. I trust that you have practiced the knots discussed in part 1. If you missed the first part in the series or need a refresher, you can view it here.
The knots covered in part 1 were “hitch” knots. If you remember the terminology also covered in Survival Knots – Part 1, you will know that “hitch” means to attach a rope to something, like a hitching post, branch, log, etc. In this the second in the series, we will be looking at two bend knots, the sheet bend and the double sheet bend knot. As you will remember, (I hope), from the terminology, “bend” knots join lines together.
Let’s get going!
Sheet Bend Knot
The Sheet Bend knot is a useful knot for tying two ropes together, even when rope sizes differ. It is suitable for most non-critical applications. It is important that the tag (free) ends of both ropes of the sheet bend be on the same side of the finished knot.


To tie the sheet bend knot, form a loop in the end of one rope. Pass the free end of the rope to be joined under the opening of the loop, around both parts of the first rope and back under itself. Pull all four ends to tighten. Watch the video below for a visual tutorial on how to tie the sheet bend.
You can see a video on how to tie the Sheet Bend knot at the end of this post.
Double Sheet Bend Knot
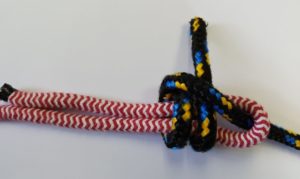
Double sheet bend pic. This knot is a more secure version of the sheet bend and is sometimes called the Becket Bend. The double sheet bend knot is the same as the single version but with an extra coil around the standing loop. This additional security is especially necessary when the ropes are of differing diameter.


To tie the knot, start out as for the normal sheet bend by forming a loop in the end of one rope. Pass the free end of the rope to be joined under the opening of the loop, then passing it TWICE around both parts of the first rope and back under itself. Pull all four ends to tighten.
Practice tying this knot by following along with the video below.
Well that’s a wrap for part 2 of our survival knots series. Keep a look out for part 3 and practice your knots as much as possible.
Get more posts like this
Subscribe to our mailing list and get interesting homesteading and green living info and updates to your email inbox.
Thank you for subscribing.
Something went wrong.


